Deliciously Crispy Chicken Kiev Recipe: Uncover the Secrets to Perfectly Stuffed Chicken Breast!
Chicken Kiev is a classic dish that originated in Ukraine and has since become popular worldwide. This delectable recipe features tender chicken breast stuffed with a rich mixture of butter and herbs, then coated in a crispy breadcrumb coating. When cooked to perfection, the chicken is juicy on the inside and wonderfully crispy on the outside. Whether you're hosting a dinner party or simply looking to elevate your weeknight meal, Chicken Kiev is sure to impress with its irresistible flavors and elegant presentation. Join us as we uncover the secrets to creating the perfect Chicken Kiev!
Ingredients required for Chicken Kiev
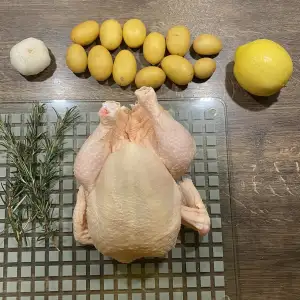
To create the deliciously crispy Chicken Kiev, you will need the following ingredients:
- 4 boneless, skinless chicken breasts
- 8 tablespoons unsalted butter, softened
- 2 cloves garlic, minced
- 2 tablespoons fresh parsley, chopped
- 1 tablespoon fresh dill, chopped
- 1 teaspoon lemon zest
- Salt and pepper to taste
- 1 cup all-purpose flour
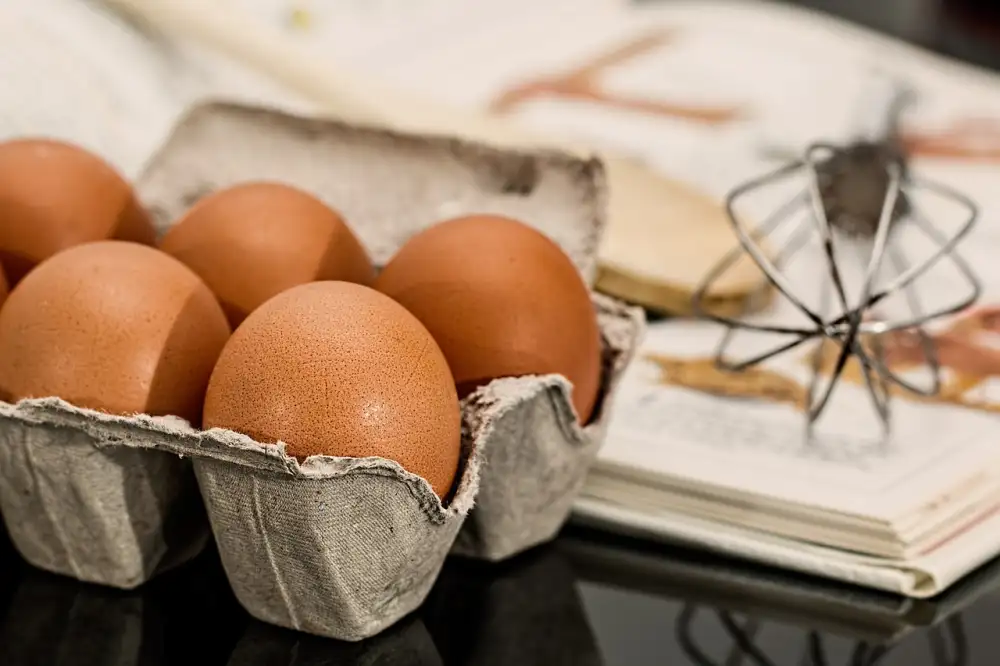
- 2 large eggs, beaten
- 2 cups breadcrumbs (preferably panko)
- Vegetable oil for frying
These simple yet flavorful ingredients are the key to achieving the perfect Chicken Kiev. Make sure to gather them all before starting your cooking adventure!
Step-by-step instructions for making Chicken Kiev
a. Preparing the chicken breast: Start by pounding the chicken breast to an even thickness. Season it with salt and pepper.
b. Stuffing the chicken breast with butter and herbs: Place a pat of chilled butter and a sprinkle of fresh herbs in the center of each chicken breast. Fold the sides over, tucking in any loose ends.
c. Breading the chicken breast: Dip each stuffed chicken breast into flour, then beaten eggs, and finally coat it with breadcrumbs. Make sure to press the breadcrumbs firmly onto the chicken to create a crispy coating.
d. Frying the Chicken Kiev: Heat oil in a skillet over medium-high heat. Carefully place the breaded chicken breasts into the hot oil and cook until golden brown on both sides. Transfer them to a baking sheet lined with paper towels to drain excess oil.
Follow these steps carefully, and you will have perfectly crispy and delicious Chicken Kiev!
Preparing the chicken breast
To prepare the chicken breast for Chicken Kiev, start by placing it on a cutting board and using a sharp knife to carefully slice through the thickest part of the breast horizontally. Be sure not to cut all the way through; you want to create a pocket for the stuffing. Open up the breast like a book, ensuring it remains intact on one side. Flatten it slightly with a meat mallet or rolling pin to even out its thickness. This will help the chicken cook evenly and make it easier to stuff and bread later on.
Stuffing the chicken breast with butter and herbs
To create the delectable filling for the Chicken Kiev, you will need a combination of butter and herbs. Start by softening the butter at room temperature, making it easier to work with. Once softened, mix in finely chopped garlic, parsley, and dill to infuse the butter with aromatic flavors. Gently spread this flavorful mixture onto one side of each chicken breast, ensuring an even distribution. The rich buttery goodness combined with the fragrant herbs will melt into the chicken as it cooks, creating a succulent and flavorful center that will leave your taste buds craving for more.
Breading the chicken breast
To achieve that perfectly crispy exterior, breading the chicken breast is an essential step in making Chicken Kiev. Here's how to do it:
1. Take the stuffed chicken breast and gently roll it in flour, ensuring that it is evenly coated. This will help the egg wash adhere to the chicken.
2. Dip the floured chicken breast into a beaten egg mixture, making sure it is fully coated. The egg acts as a binder and helps the breadcrumbs stick to the chicken.
3. Finally, carefully roll the chicken breast in a mixture of breadcrumbs and seasonings until it is completely covered. Press lightly to ensure the breadcrumbs adhere well.
4. For an extra crunchy coating, you can repeat steps 2 and 3 by dipping the breaded chicken back into the egg wash and then rolling it again in breadcrumbs.
By following these steps, you'll achieve a beautifully golden and crispy crust that encases the succulent Chicken Kiev filling.
Frying the Chicken Kiev
Frying the Chicken Kiev is the final step in creating this delectable dish. Heat a generous amount of oil in a deep frying pan over medium-high heat. Carefully place the stuffed chicken breasts into the hot oil, making sure not to overcrowd the pan. Fry for about 4-5 minutes on each side, or until golden brown and crispy. Use tongs to carefully flip the chicken breasts halfway through cooking. Once cooked, transfer the Chicken Kiev to a paper towel-lined plate to drain excess oil. The frying process ensures that the chicken is cooked through while maintaining its crispy exterior. Be cautious not to overcook, as it may cause the butter filling to leak out. Enjoy your perfectly fried Chicken Kiev with its irresistible crunchy coating and flavorful filling!
Tips and variations for Chicken Kiev
Tips and Variations for Chicken Kiev:
1. Use chilled butter: To ensure that the butter stays intact while cooking, make sure it is chilled before stuffing it into the chicken breast. This will help maintain its shape and prevent it from melting too quickly.
2. Experiment with herbs: While the traditional recipe calls for parsley and dill, feel free to get creative with your choice of herbs. Try adding thyme, rosemary, or even a hint of garlic to enhance the flavors of your Chicken Kiev.
3. Double breading for extra crispiness: For an extra crispy coating, you can double bread your Chicken Kiev. After the first layer of breadcrumbs, dip the chicken back into the egg mixture and coat it again with breadcrumbs before frying.
4. Baking option: If you prefer a healthier alternative to frying, you can bake your Chicken Kiev in a preheated oven at 400°F (200°C) for about 25-30 minutes or until golden brown and cooked through.
5. Freezing for later: Chicken Kiev can be prepared ahead of time and frozen for future use. Simply wrap each stuffed chicken breast tightly in plastic wrap or foil and store them in an airtight container in the freezer for up to 3 months. When ready to cook, thaw them overnight in the refrigerator before following the frying or baking instructions.
6. Vegetarian twist: For those who prefer a vegetarian option, you can substitute the chicken breast with tofu slices or even portobello mushrooms. Stuff them with herbed butter and proceed with breading and cooking as usual.
By incorporating these tips and variations into your Chicken Kiev recipe, you can elevate this classic dish to new heights while still enjoying its deliciously crispy exterior and flavorful filling!
Serving suggestions for Chicken Kiev
Serving Suggestions for Chicken Kiev:
Chicken Kiev is a versatile dish that can be enjoyed in various ways. Here are some serving suggestions to enhance your dining experience:
1. Classic Presentation: Serve the Chicken Kiev on a bed of creamy mashed potatoes or buttery rice. Garnish with fresh parsley for a pop of color.
2. Light and Fresh: Pair the Chicken Kiev with a side salad made with mixed greens, cherry tomatoes, and a tangy vinaigrette dressing. The refreshing flavors will complement the richness of the chicken.
3. Mediterranean Twist: Serve the Chicken Kiev alongside roasted vegetables such as zucchini, bell peppers, and eggplant. Drizzle with olive oil and sprinkle with feta cheese for a Mediterranean flair.
4. Elegant Dinner Party: Impress your guests by serving the Chicken Kiev with a side of steamed asparagus and roasted baby potatoes. Add a touch of elegance by drizzling hollandaise sauce over the asparagus.
5. Family-Friendly Meal: For a kid-friendly option, serve the Chicken Kiev with homemade macaroni and cheese or crispy French fries. It's sure to be a hit with both children and adults alike.
Remember to garnish your dish with lemon wedges for an extra burst of citrus flavor and provide dipping sauces such as garlic aioli or tangy barbecue sauce on the side. These serving suggestions will elevate your Chicken Kiev into a memorable culinary experience!
In conclusion, Chicken Kiev is a classic dish that never fails to impress. With its crispy exterior and flavorful filling, it is a true delight for the taste buds. By following the step-by-step instructions and using quality ingredients, you can create a perfectly stuffed chicken breast that will leave your guests craving for more. Remember to experiment with different herbs and spices to personalize the flavors to your liking. Whether served as an appetizer or main course, Chicken Kiev is sure to be a crowd-pleaser at any gathering. So go ahead, unleash your culinary skills and enjoy the deliciousness of this timeless recipe!
Published: 30. 11. 2023
Category: Recipes